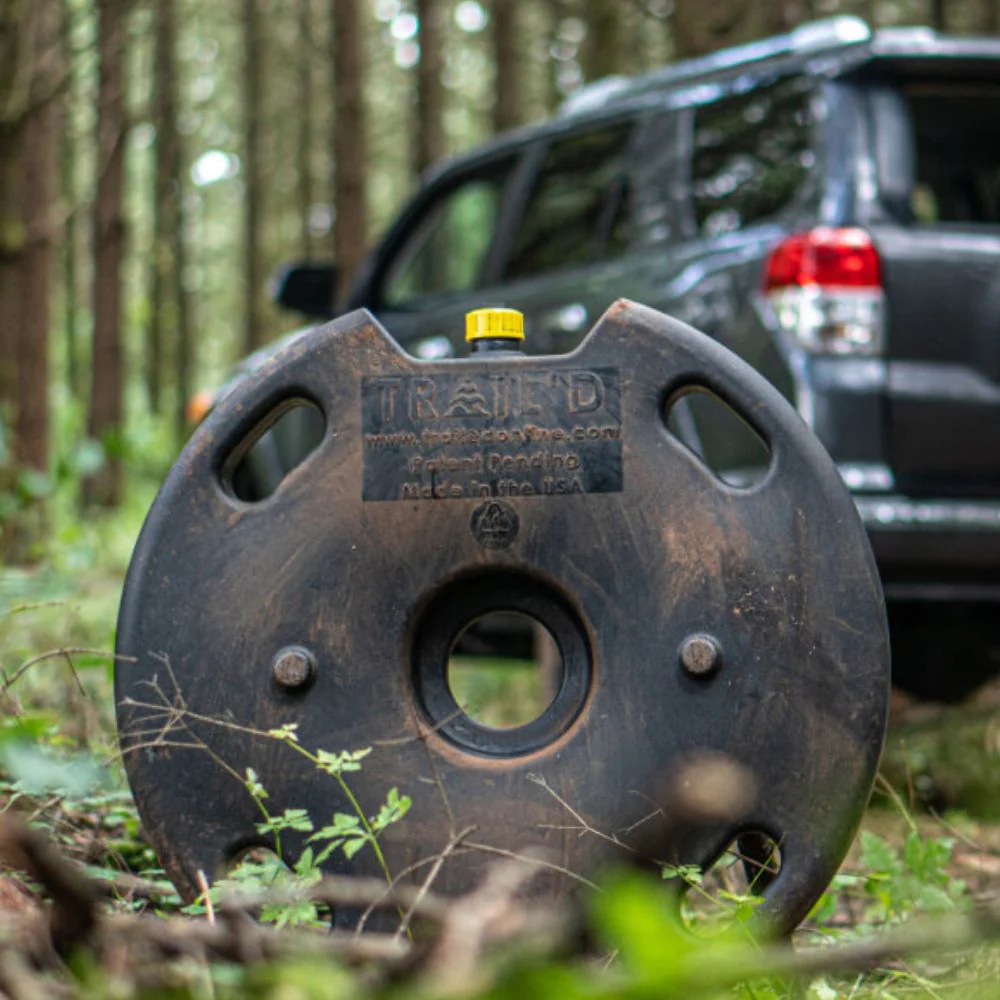
Trail’d 6-Gallon Spare Tank
Built for Going the Distance
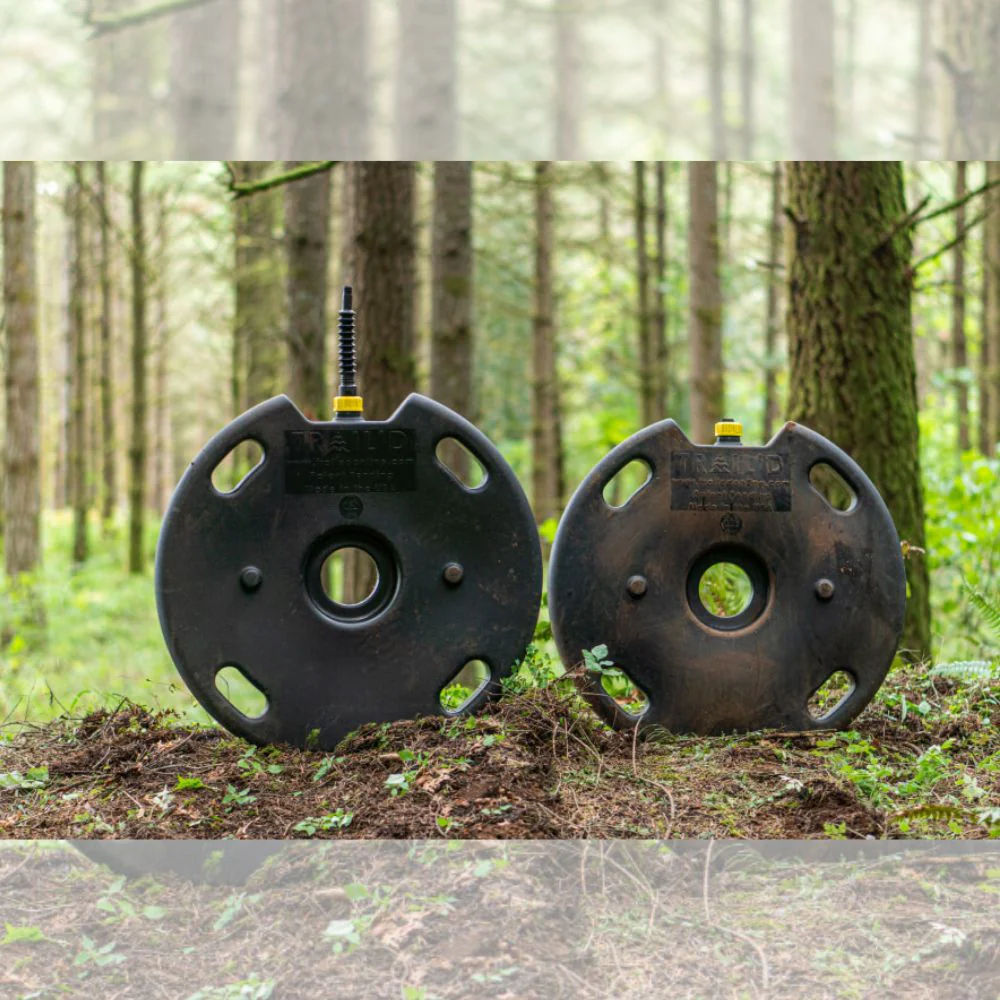
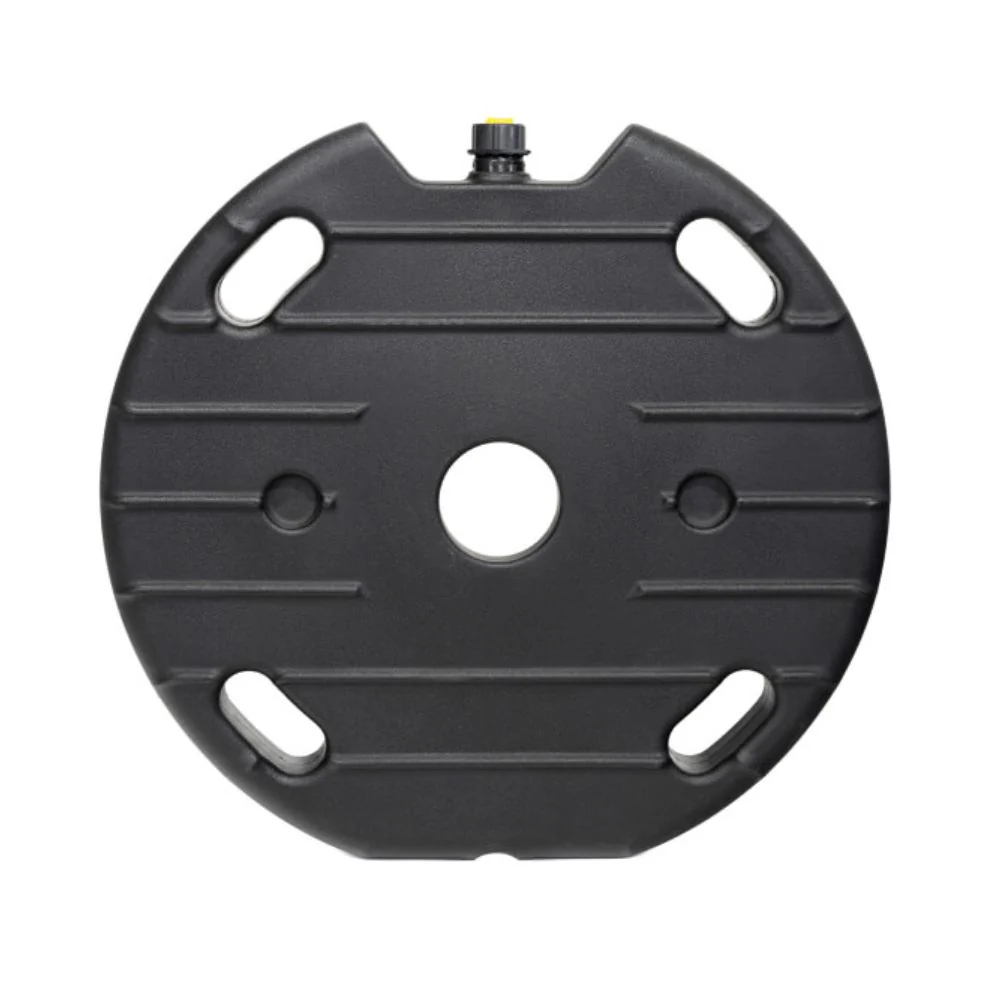
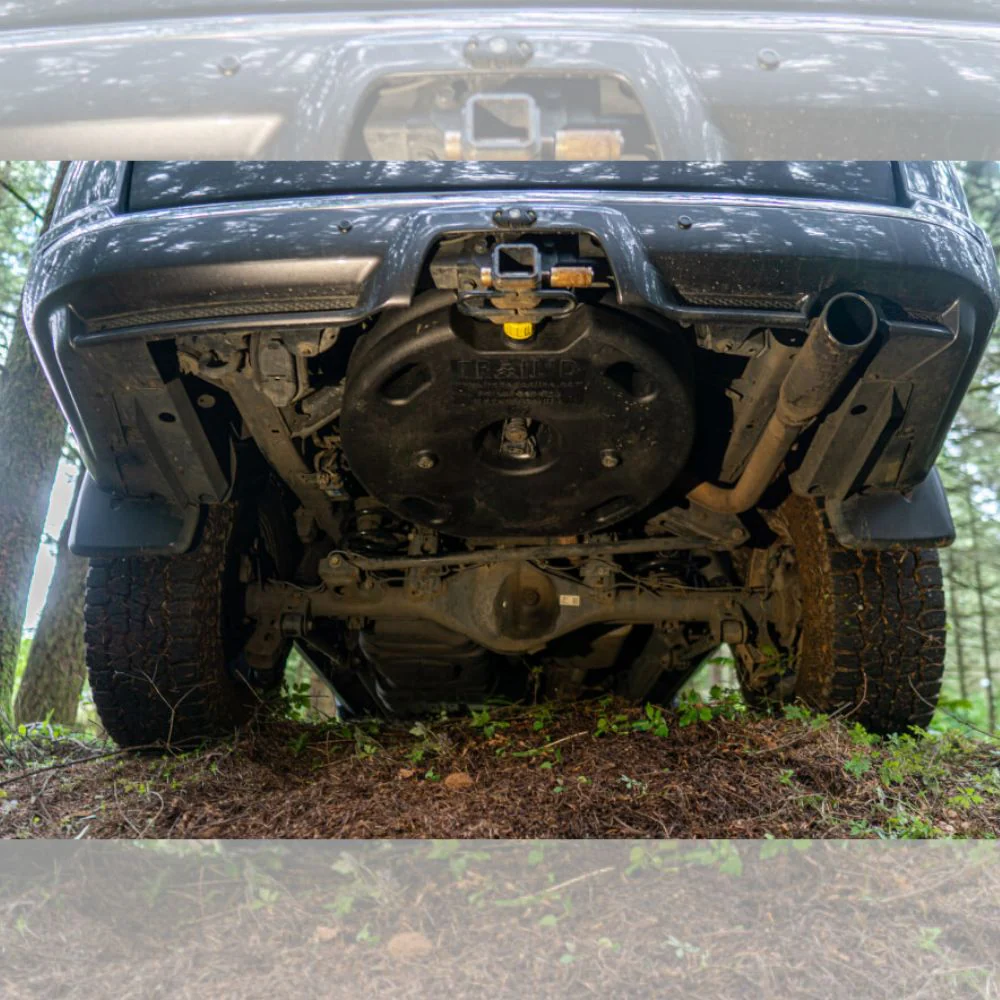
Increase off-road water storage by utilizing your truck's space tire space.
Choose your Trail’d 6-Gallon Spare Tank:
That all depends on how much you adventure and how far you go. Most people buy two tanks and the more serious enthusiast buys three. One factor to consider is whether you are going solo or taking the family. In this case, more is better when it comes to water.
Adventure Single Pack: 1 unit of Trail’d 6-Gallon Tank
Overlanding Pack: 2 units of Trail’d 6-Gallon Tank
You can purchase both the single and double pack together to have a maximum of 18 gallons storage.
Choose your appropriate Spare Mounting Ring:
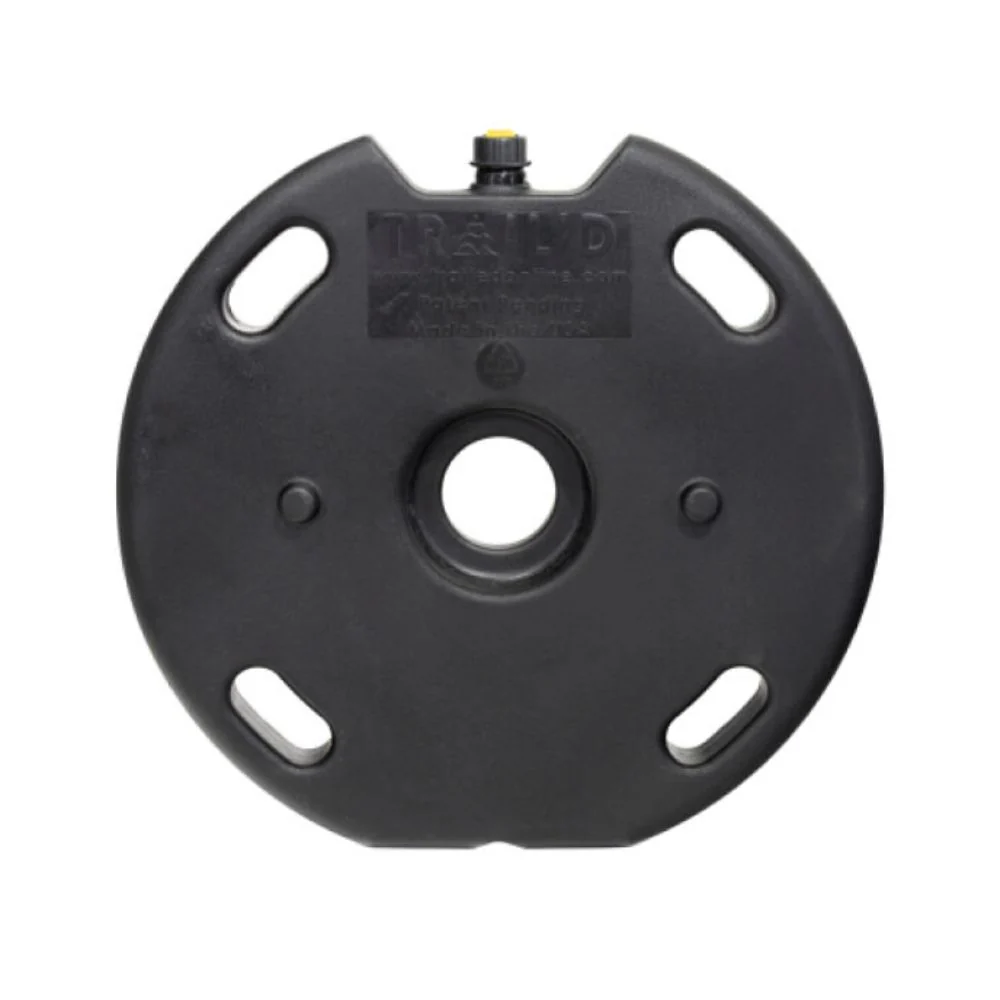
Heavy-duty steel rings designed to securely mount one or more Trail’d 6-gallon tanks on your vehicle's spare tire hoist.
Small: Suitable for 4 to 5-inch hoist brackets
Medium: Suitable for 5 to 6-inch hoist brackets
Large: Suitable for 6 inches or larger hoist brackets
100% Recyclable: Our sustainable practices help reduce energy and water consumption, minimize pollution, and prevent disturbance to wildlife habitats.
Made in the U.S.A: Trail'd tanks are proudly manufactured in the US to support the local economy and uphold the implicit promise of delivering high-quality, safe, and durable products.
Included: The Trail’d Tank is designed to be a complete kit, containing all necessary components for installation, this includes the tank itself. We also recommend purchasing the mounting ring for easy install.
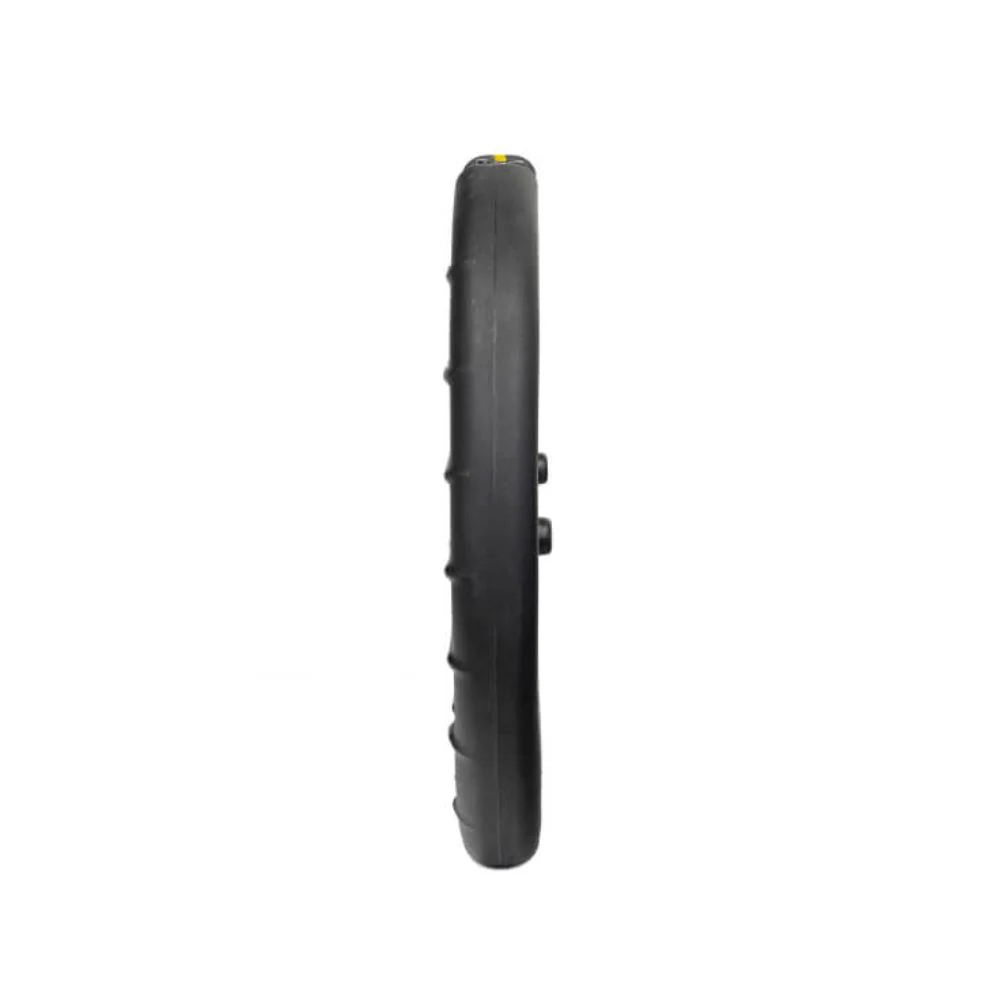
Fitment: If your vehicle has a center lifting hoist and can fit a 29″ tire then you should be good to go. One important item to note is that the size of the hoist bracket varies for each vehicle and may require new mounting rings to ensure a proper fit.
Mounting & Installation:
Step 1: Prepare hoist tools: Locate your OEM tire changing kit and assemble the spare tire hoist components. If you still have a spare tire, lower it, or just loosen the chain if you don’t.
Step 2: Lower the spare tire hoist: Insert the hoist tool through your hitch or bumper opening and turn it counter clockwise to lower the hoist or spare tire. Lower the chain until it reaches the ground.
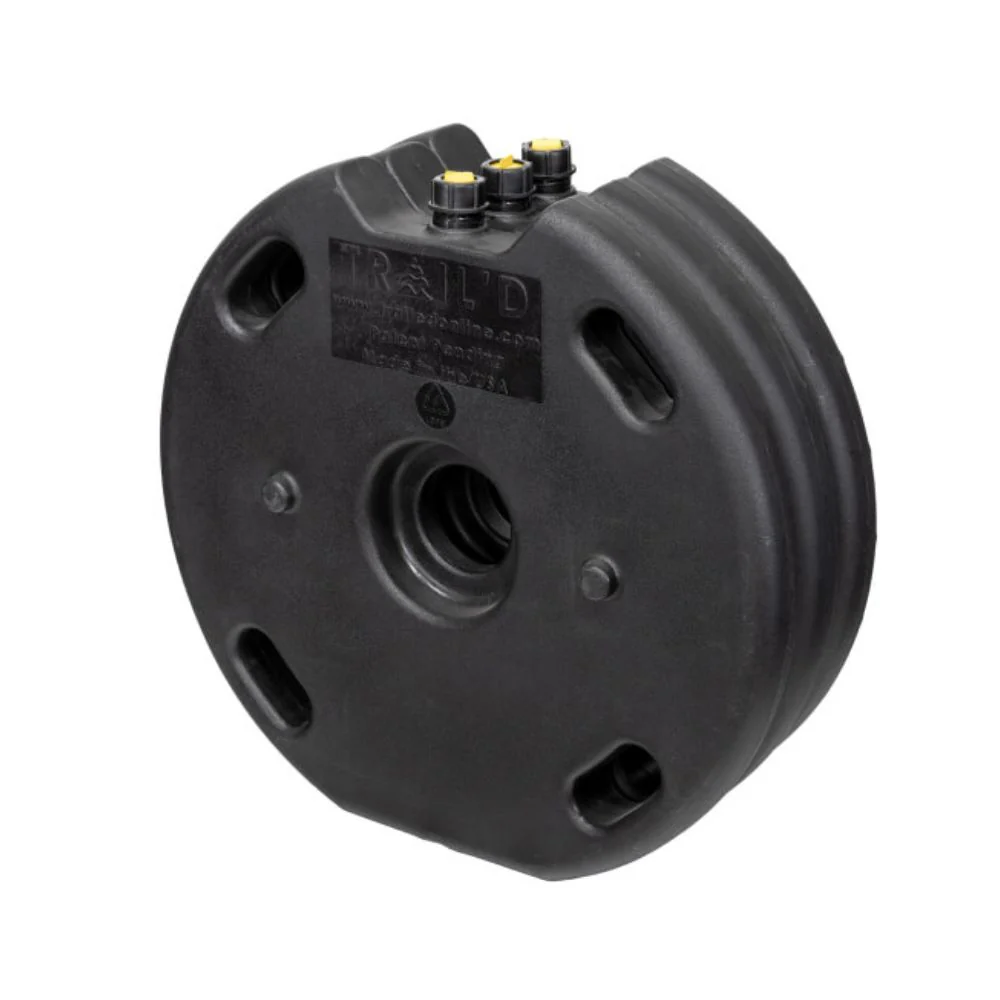
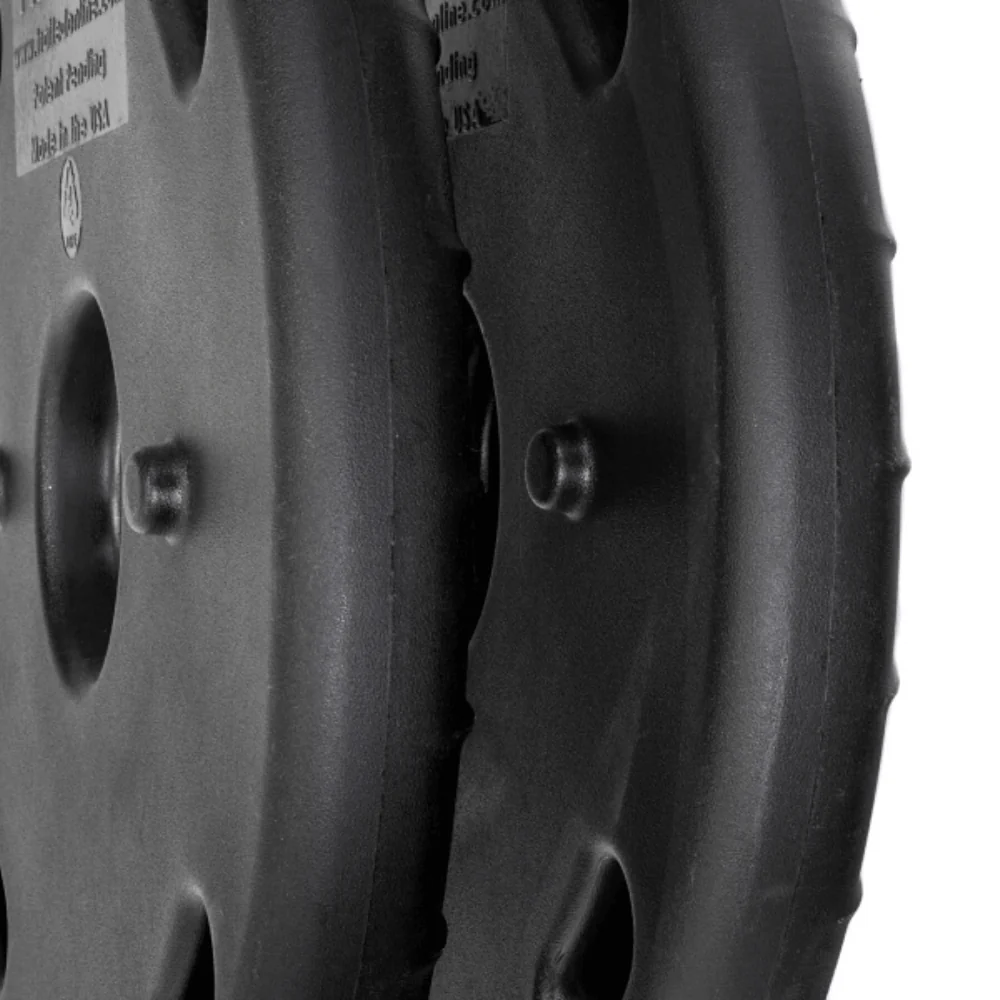
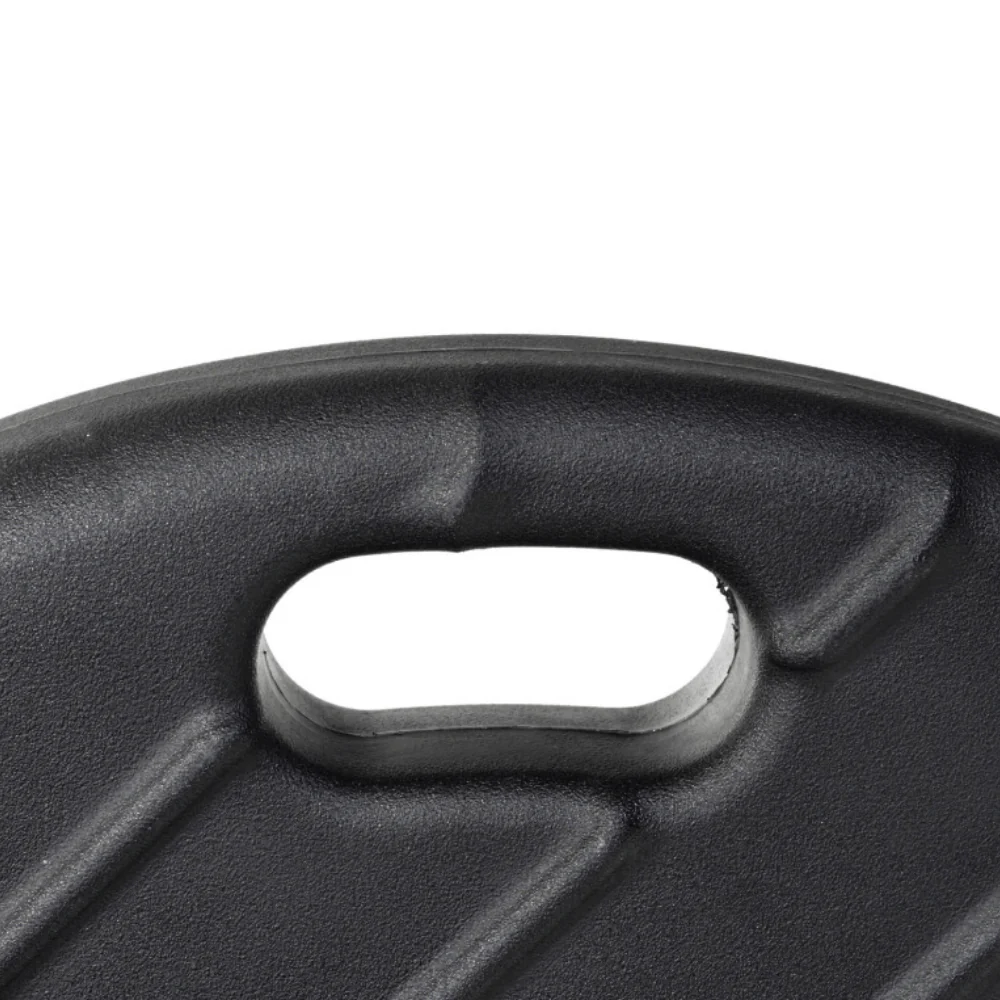
Step 3: Attach the tank to the hoist: Position the Trail’d tank correctly and insert the metal support plate into the tank opening as you would with the OEM spare tire. Ensure there’s tension on the chain to prevent slipping. If stacking multiple tanks, align the tabs and slots to lock them in place. Flatten the small tab on the right side of the hoist for easier installation and added safety.
Step 4: Lift and secure the tank: Turn the hoist tool clockwise at its designated location to tighten the chain and lift the tank into position. Tighten until the tank is firmly seated against the cross member.
Please Note:
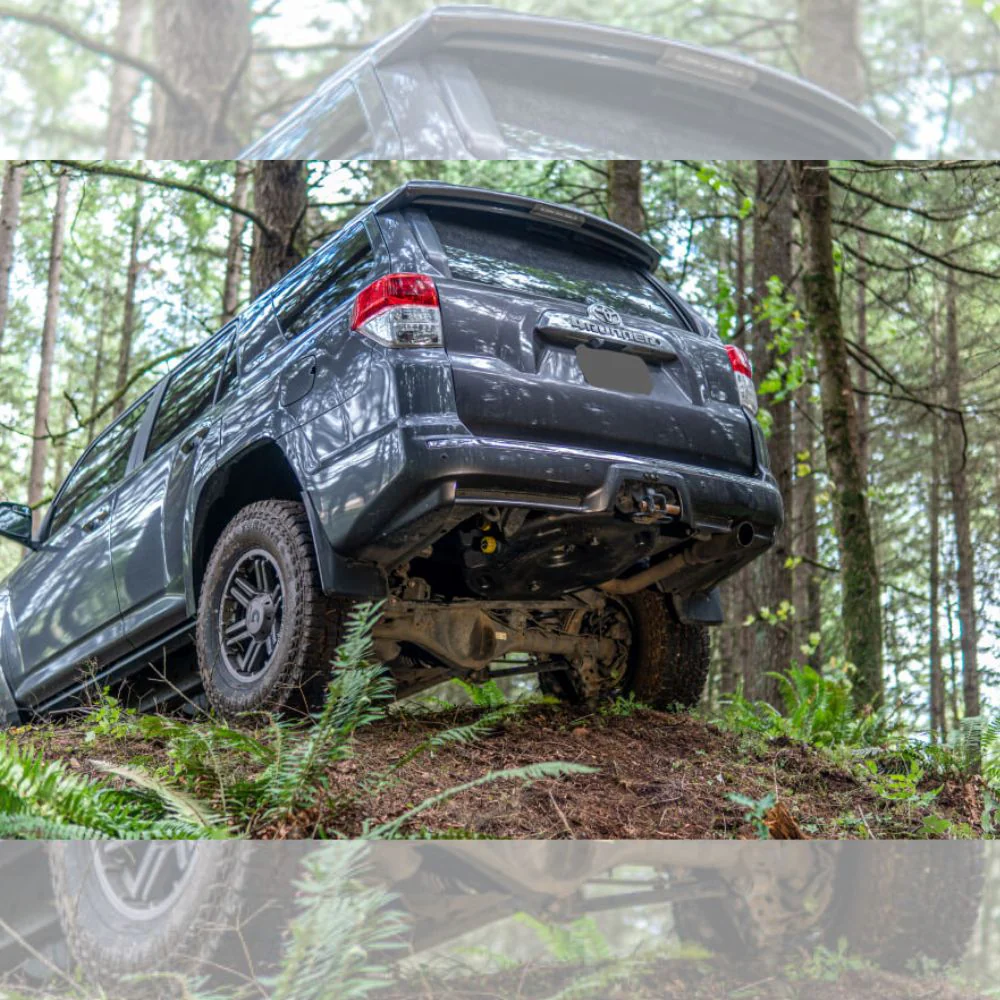
➜ Remember, installing additional tanks will reduce ground clearance. For a neater appearance and to prevent the chain from snagging, use zip ties to secure any slack in the hoist chain.
➜ Before using your tank, make sure to rinse it thoroughly and allow it to dry fully to remove any debris.
➜ Remember to vent the tank once per day if the elevation or temperature changes significantly to prevent any issues.
➜ To ensure that your tank does not leak or become loose due to vibration, be sure to check the seal and gasket regularly to make sure they are correctly installed.
➜ These tanks are not certified by the EPA for fuel storage and using them for this purpose will void all warranty and return claims.
Original: $199.00
-65%$199.00
$69.65Product Information
Product Information
Shipping & Returns
Shipping & Returns
Description
Built for Going the Distance
Increase off-road water storage by utilizing your truck's space tire space.
Choose your Trail’d 6-Gallon Spare Tank:
That all depends on how much you adventure and how far you go. Most people buy two tanks and the more serious enthusiast buys three. One factor to consider is whether you are going solo or taking the family. In this case, more is better when it comes to water.
Adventure Single Pack: 1 unit of Trail’d 6-Gallon Tank
Overlanding Pack: 2 units of Trail’d 6-Gallon Tank
You can purchase both the single and double pack together to have a maximum of 18 gallons storage.
Choose your appropriate Spare Mounting Ring:
Heavy-duty steel rings designed to securely mount one or more Trail’d 6-gallon tanks on your vehicle's spare tire hoist.
Small: Suitable for 4 to 5-inch hoist brackets
Medium: Suitable for 5 to 6-inch hoist brackets
Large: Suitable for 6 inches or larger hoist brackets
100% Recyclable: Our sustainable practices help reduce energy and water consumption, minimize pollution, and prevent disturbance to wildlife habitats.
Made in the U.S.A: Trail'd tanks are proudly manufactured in the US to support the local economy and uphold the implicit promise of delivering high-quality, safe, and durable products.
Included: The Trail’d Tank is designed to be a complete kit, containing all necessary components for installation, this includes the tank itself. We also recommend purchasing the mounting ring for easy install.
Fitment: If your vehicle has a center lifting hoist and can fit a 29″ tire then you should be good to go. One important item to note is that the size of the hoist bracket varies for each vehicle and may require new mounting rings to ensure a proper fit.
Mounting & Installation:
Step 1: Prepare hoist tools: Locate your OEM tire changing kit and assemble the spare tire hoist components. If you still have a spare tire, lower it, or just loosen the chain if you don’t.
Step 2: Lower the spare tire hoist: Insert the hoist tool through your hitch or bumper opening and turn it counter clockwise to lower the hoist or spare tire. Lower the chain until it reaches the ground.
Step 3: Attach the tank to the hoist: Position the Trail’d tank correctly and insert the metal support plate into the tank opening as you would with the OEM spare tire. Ensure there’s tension on the chain to prevent slipping. If stacking multiple tanks, align the tabs and slots to lock them in place. Flatten the small tab on the right side of the hoist for easier installation and added safety.
Step 4: Lift and secure the tank: Turn the hoist tool clockwise at its designated location to tighten the chain and lift the tank into position. Tighten until the tank is firmly seated against the cross member.
Please Note:
➜ Remember, installing additional tanks will reduce ground clearance. For a neater appearance and to prevent the chain from snagging, use zip ties to secure any slack in the hoist chain.
➜ Before using your tank, make sure to rinse it thoroughly and allow it to dry fully to remove any debris.
➜ Remember to vent the tank once per day if the elevation or temperature changes significantly to prevent any issues.
➜ To ensure that your tank does not leak or become loose due to vibration, be sure to check the seal and gasket regularly to make sure they are correctly installed.
➜ These tanks are not certified by the EPA for fuel storage and using them for this purpose will void all warranty and return claims.